Along with features like reading emails out loud and color coding your emails, Microsoft Outlook also gives you a separate Calendar to manage your routine. You can add important events on specific dates and create reminders.

Besides working on things by yourself, you can also share reminds and details about other events with your contacts. Creating a shared calendar makes collaboration easier with your peers. This will show how to create a shared calendar in Outlook on Desktop and Mobile.
Create a Shared Calendar in Outlook on the Web
If you like to use Outlook on the web, here’s how to create a shared calendar. These steps apply to Mac and Windows users.
Step 1: Open a browser on your computer and go to outlook.com.
Step 2: Sign in to your Microsoft account.
Step 3: After your Outlook email account page appears, click on the Calendar icon in the top-left corner.

Step 4: After the Calendar appears on your screen, click on Share at the top-right corner.

Step 5: On the Sharing and Permissions window, type the email address of your contact with whom you wish to share your calendar.

Step 6: After that, click the dropdown menu to select sharing preferences. Then click on Share.

Your Outlook Calendar is shared on the email address.
Here’s how you can delete Outlook Calendar access for any contact.
Step 1: Open the Outlook website in a browser and sign in with your account.
Step 2: After your Outlook email account page appears, click on the Calendar icon in the top-left corner.
Step 3: When the Calendar appears on your screen, click on Share at the top-right corner.
Step 4: Click on the Delete icon next to the email address to remove calendar permissions.

Create Shared Calendar in Outlook App on Windows
If you are using the Outlook app on your Windows PC, you can share your Outlook Calendar. We are using Outlook with a Microsoft 365 subscription.
Step 1: Click on the Start button and type Outlook, and select the Outlook app from the results.

Step 2: Click the Calendar icon at the bottom-left corner of the Outlook app.
![]()
Step 3: Click on Share at the top-right in the Menu Bar.

Step 4: Select Calendar.

Step 5: Click on Add to add the email address.

Step 6: Enter the email address and click on Add at the bottom-left corner.

Step 7: Click Ok to confirm.

Step 8: Choose the Permission level for the shared calendar. Then click on Ok.

Here’s how you can stop Outlook Calendar sharing with a contact.
Step 1: In the Outlook app, click on the Calendar icon at the bottom-left corner.
![]()
Step 3: Click on Share at the top-right in the Menu Bar.
Step 4: Select Calendar.
Step 5: Select the email address from the list and click on Remove.

Create a Shared Calendar in Outlook App on Mac
If you are using the Outlook app on your Mac, here’s how to create a shared calendar. Before you proceed, we recommend updating the app to its latest version to ensure a bug-free experience.
After that, follow these steps.
Step 1: Press Command + Spacebar to open Spotlight Search, type Microsoft Outlook, and press Return.

Step 2: In the Outlook app, click on the Calendar icon at the bottom-left corner.

Step 3: Bring your mouse pointer next to Calendar under My Calendars in the left menu.

Step 4: Click the three dots next to the Calendar option and select Sharing Permissions.

Step 5: In the Calendar Properties window, click the Plus icon at the bottom-left corner.

Step 6: Add the email address for sharing your calendar.

Step 7: Click the Permissions dropdown menu to select sharing settings. Then click on Add.

Step 8: Click on Done to save your choice.

Your Outlook Calendar is now shared on the email address.
Here’s how you can remove sharing of your Outlook Calendar.
Step 1: Press Command + Spacebar to open Spotlight Search, type Microsoft Outlook, and press Return.
Step 2: Click on the Calendar icon in the bottom-left corner.
Step 3: Bring your mouse pointer next to Calendar under My Calendars in the left menu.
Step 4: Click the three dots and select Sharing Permissions.
Step 5: In the Calendar Properties window, select the email address you want to remove. Then click the Minus (-) icon at the bottom-left corner.

Step 6: Tap on Done to confirm your choice.
Create a Shared Calendar in Outlook App on Mobile
Lastly, we will cover the steps to create a shared calendar in the Outlook app for Android and iPhone. The steps remain the same for both platforms.
Step 1: Open the Outlook app on your Android or iPhone.

Step 2: Tap the Calendar icon at the bottom-right corner.

Step 3: Tap on your profile icon at the top-left corner.
![]()
Step 4: Tap the Settings icon next to Calendar.

Step 5: Tap on Add People.

Step 6: Type the name or email address of your contact. Then tap on the Blue Arrow icon at the top-right corner.

Step 7: Tap on your contact’s email address to change calendar permissions.

Step 8: Choose a permission and then go back.

Step 9: Tap the X icon at top-left corner to exit the menu.

You can remove the calendar sharing permissions by following the same steps mentioned above and tapping Remove.

Shared Calendar Permissions Levels for Outlook
Before wrapping up, here’s a quick look at all the permission levels that you can manage while sharing your Outlook Calendar.
- Can View When I’m Busy – This is the default permission level that allows your contact to open the calendar and only check if you are Busy, Available, or Out Of Office.
- Can View Titles and Locations – You can allow your contact to view more information in the calendar, like Titles and Location of your meeting, presentation, seminar, or more. This will help your contact decide the perfect opportunity to get in touch.
- Can View All Details – If you have scheduled a meeting, this permission level enables your contact to view the names of the meeting attendees, notes, or attachments, along with Titles and Location.
- Can Edit – Your shared calendar contact can edit any information in the calendar. This is the best option if you have a secretary or personal assistant who takes care of your schedule.
- Delegate – You can only assign this permission level to users or groups from your company or organization. You can also allow access to view private event details mentioned in the Calendar.
Share Your Calendar in Outlook
Shared calendar access in Outlook can synchronize all your team activities, events, and other important information at your workplace. You can also check out more Outlook Calendar tips and tricks to manage it better.
Last updated on 19 October, 2022
The above article may contain affiliate links which help support Guiding Tech. However, it does not affect our editorial integrity. The content remains unbiased and authentic.
Read Next
 How To Add Reminders to Outlook Calendar on Mobile and Desktop
Microsoft Outlook email offers a built-in Calendar for scheduling important meetings, events and adding reminders.
How To Add Reminders to Outlook Calendar on Mobile and Desktop
Microsoft Outlook email offers a built-in Calendar for scheduling important meetings, events and adding reminders.
 Apple Calendar vs Google Calendar: Which Calendar App Should You Use
Apple often faces criticism for the slow development of its iOS apps.
Apple Calendar vs Google Calendar: Which Calendar App Should You Use
Apple often faces criticism for the slow development of its iOS apps.
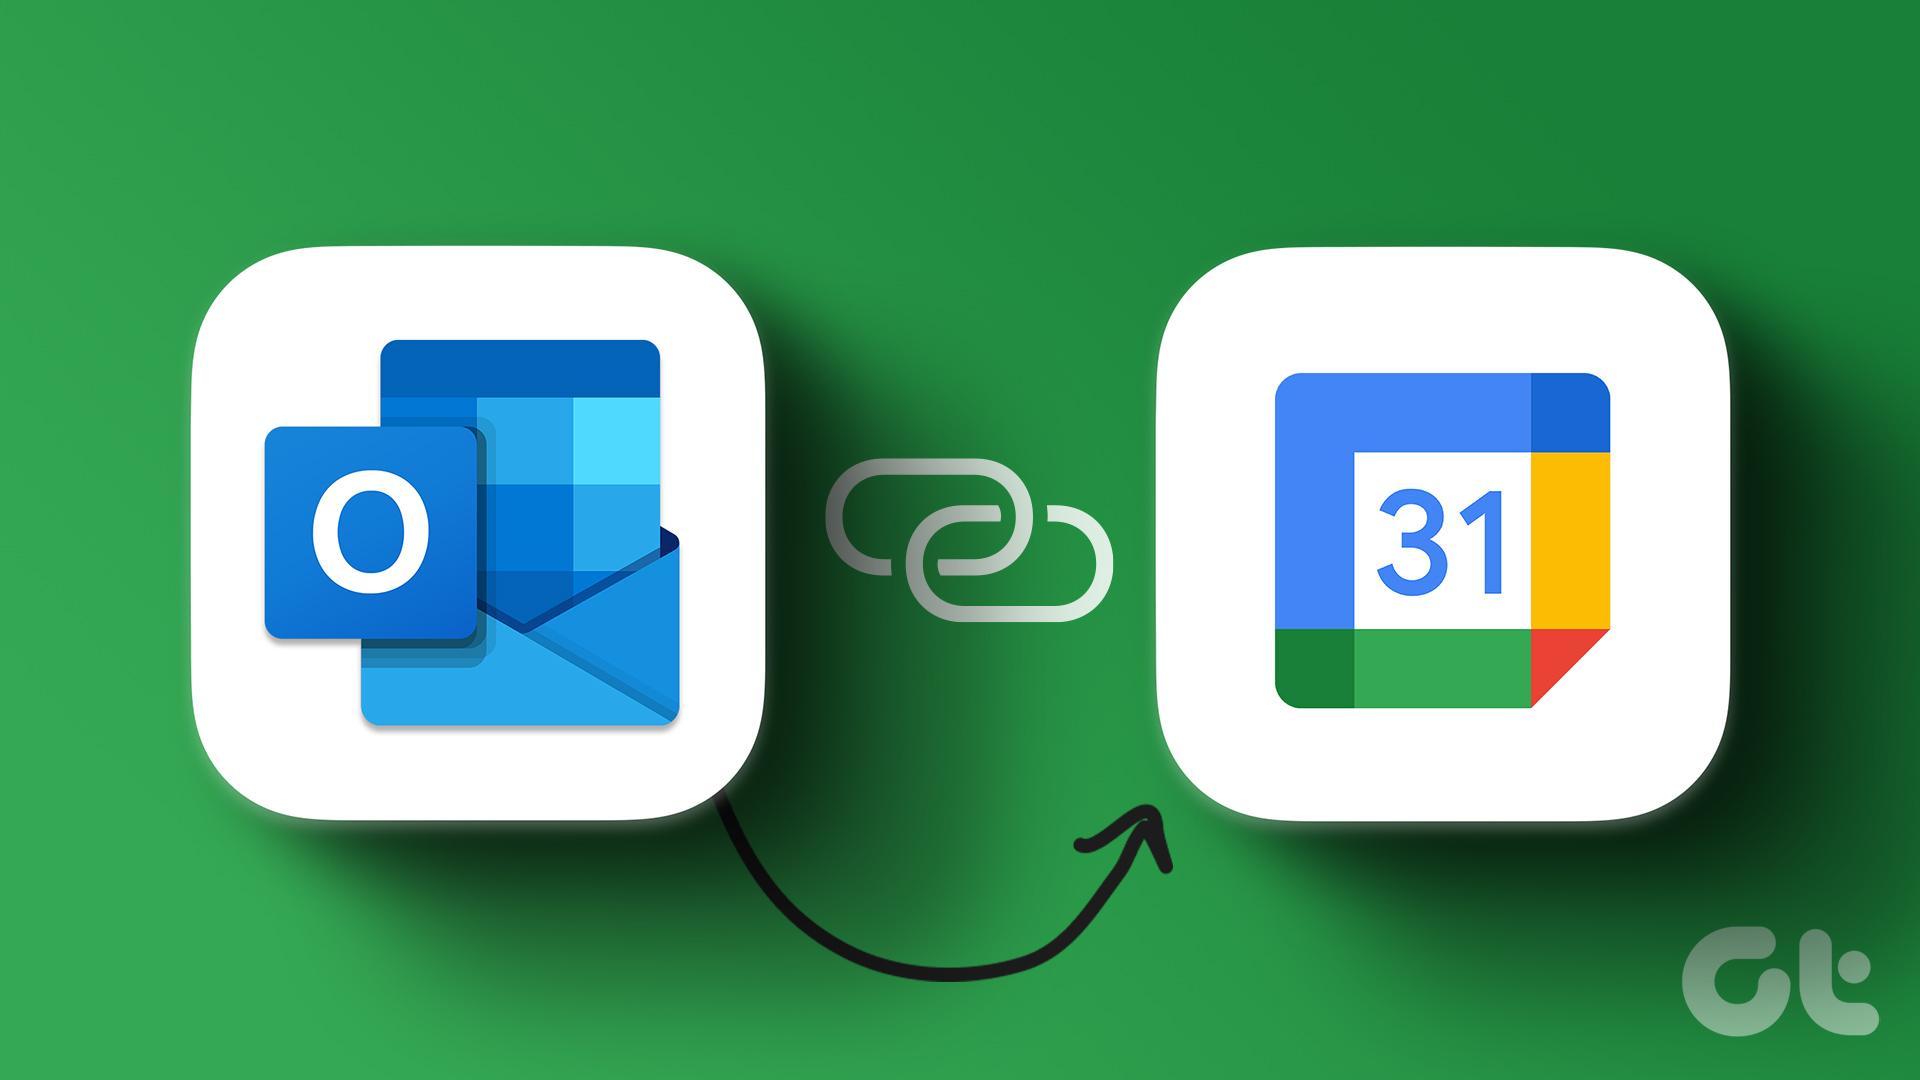 How to Sync Outlook Calendar With Google Calendar: 7 Best Ways
If you use Microsoft Outlook and Google Calendar to manage your schedule and appointments, you may want to consider syncing the two platforms.
How to Sync Outlook Calendar With Google Calendar: 7 Best Ways
If you use Microsoft Outlook and Google Calendar to manage your schedule and appointments, you may want to consider syncing the two platforms.
 How to Add Zoom Meetings to Outlook Calendar and Google Calendar
Both Google Calendar and Outlook Calendar are solid apps and are a great addition to both Outlook email app and Gmail, respectively.
How to Add Zoom Meetings to Outlook Calendar and Google Calendar
Both Google Calendar and Outlook Calendar are solid apps and are a great addition to both Outlook email app and Gmail, respectively.
 Google Calendar vs Outlook: Which Calendar App Is Better on Android
Calendar plays a major role in helping you organize a busy day.
Google Calendar vs Outlook: Which Calendar App Is Better on Android
Calendar plays a major role in helping you organize a busy day.
 Samsung Calendar vs Outlook: Which Calendar App Is Better on Galaxy Devices
The latest Samsung devices come with two calendar apps - Google Calendar and Samsung’s built-in calendar.
Samsung Calendar vs Outlook: Which Calendar App Is Better on Galaxy Devices
The latest Samsung devices come with two calendar apps - Google Calendar and Samsung’s built-in calendar.
 How to Save Shared Files on Google Drive for Web and Mobile
Google Drive remains the preferred choice among users to send files, media, and documents.
How to Save Shared Files on Google Drive for Web and Mobile
Google Drive remains the preferred choice among users to send files, media, and documents.
 How to Download Emails From Outlook on Web, Desktop, and Mobile
Are you tired of constantly sifting through your Outlook emails to find that one crucial message?
How to Download Emails From Outlook on Web, Desktop, and Mobile
Are you tired of constantly sifting through your Outlook emails to find that one crucial message?
DID YOU KNOW
The LG G Watch is the first smartwatch to be shipped with Android Wear.